Kiln Cottage
I recently came across some photos of the cottage taken during the original renovation that I carried out in 1975/6 (two drought years, ideal for this sort of work).
I bought the pair of cottages in 1975, a time of rapid price rises and gazumping. Despite the buoyant market they had been empty for two years.
1
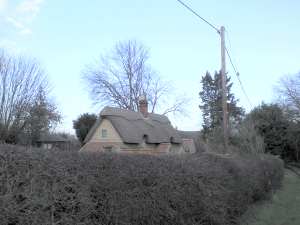
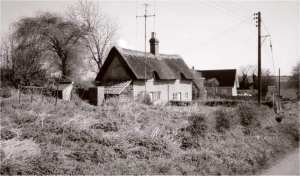
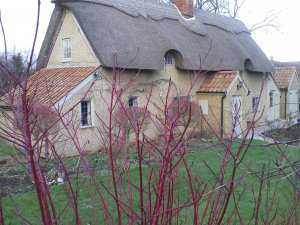
The cottages when I bought it. Each were "two up and two down". There was water to a white sink in each cottage. You can see two outside toilets at this end. There were lean-too coal barns at each end which I removed. Later I built extensions to replicate them.
2
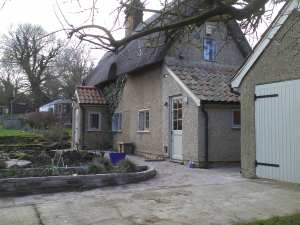
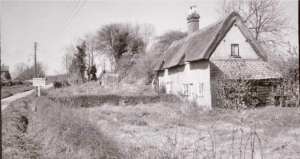
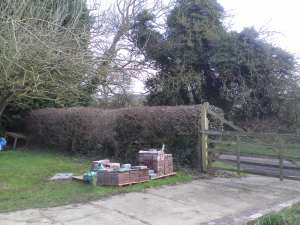
You can see the Peacocks "For sale" sign.
3
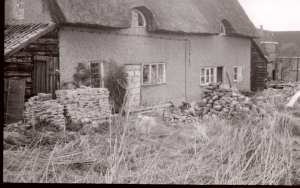
One door blocked up. The quarry tiles from the floors lifted and stacked. A pile od sandstone rocks which were the foundations.
4
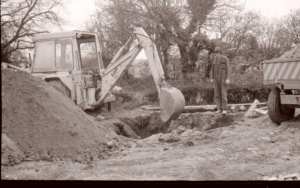
Digging a hole for the septic tank. I borrowed a tractor and trailer and a JCB digger from College. You woulnd't be able to do that nowadays.
5
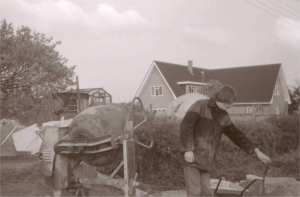
I bought a petrol-driven concrete mixer.
6
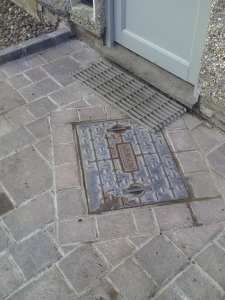
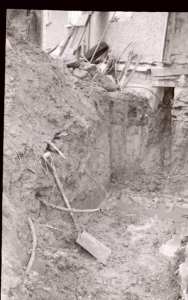
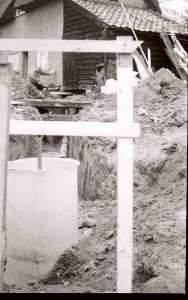
The cottage had nothing but a pipe bringing water into the two kitchens. This is the hole for the sewer manhole.
7
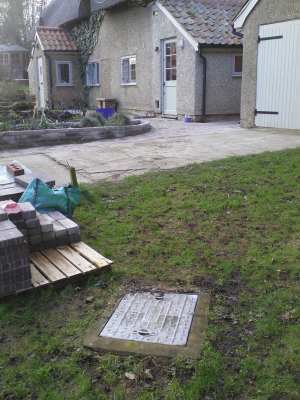
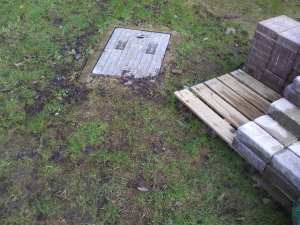
You can see the top of the Klargester septic tank sticking out of the ground and the trench for the pipes from the house.
8
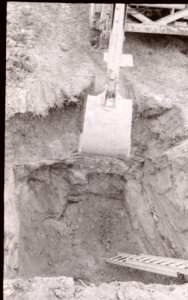
Digging the hole for the septic tank. It is pure sand down there.
9
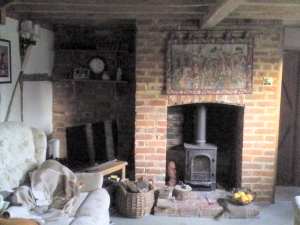
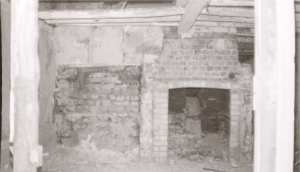
The lounge side of the chimney breast. If you look closely at where the beam is supported by the breast you can see that I have rebuild the breast slightly to the left. This was to allow enough space to the right to allow for a door to the porch (which joins the two cottages together).
10
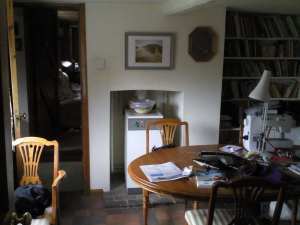
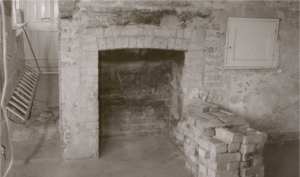
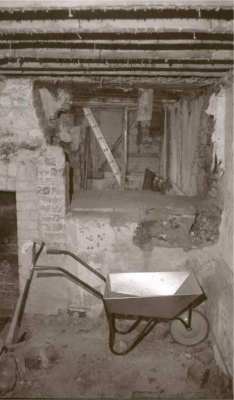
In the dining room to the left of the chimney breast was a bread oven. I removed it because it was a later addition and it was sucking up damp which was rotting the timbers. It also had a wooden door, obviously not original!
11
So I removed the oven. It was crudely connected to the main flue.
12
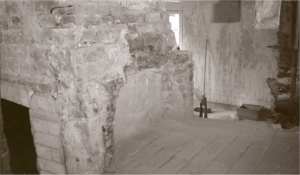
Here you can see the base of the bread oven
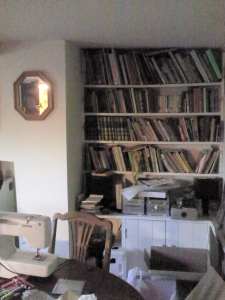
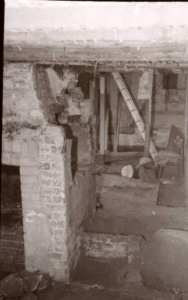
13
After the bread oven was removed.
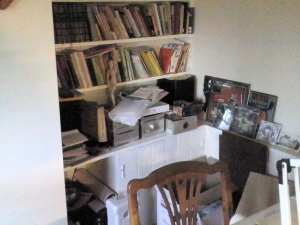
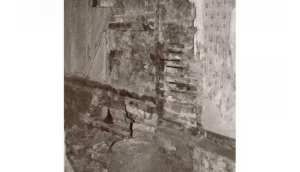
14
You can see where the bread oven had been rotting the timbers.
15
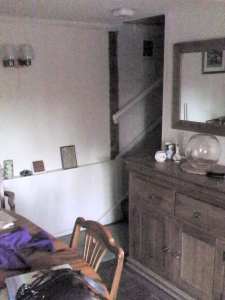
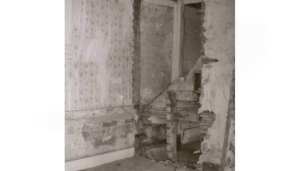
The original stairs were very rotten.
16
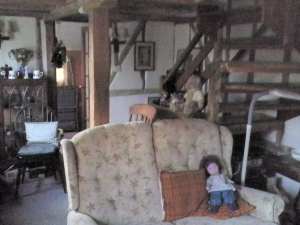
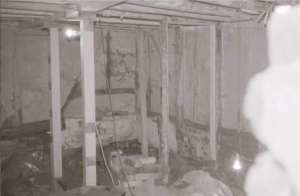
In the lounge I removed the dividing wall to the old kitchen this side and the stairs.
17
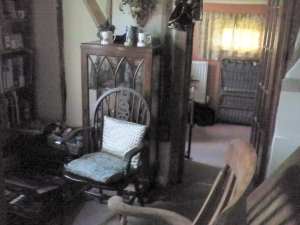
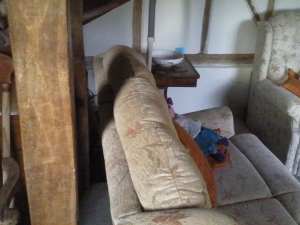
You can just see this beam (wall plate) behind the cabinet of curiosities. I had to cut through it when I put the doorway in to the extension.
18
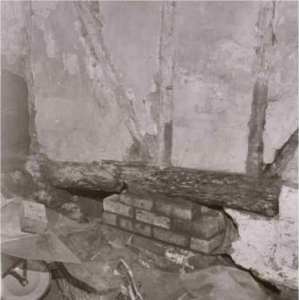
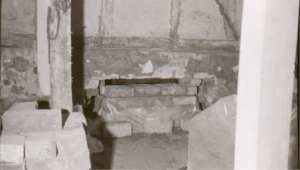
As there were no foundations, just a line of rocks, I dug them out and put in a shallow concrete footing and built up a wall with a damp-proof course. I did this in three foot lengths which all joined together when finished. so now the cottage is entirely supported on the wall that I built.
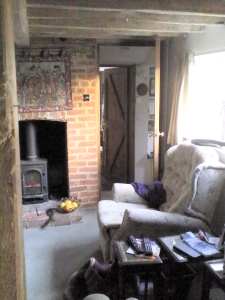
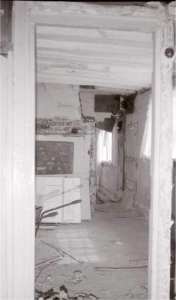
19
You can see the old electricity meter which was in a cupboard to the right of the chimney breast. The black thing at the top.
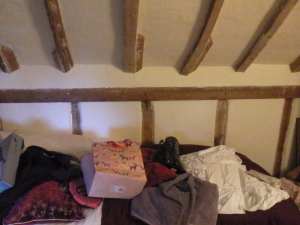
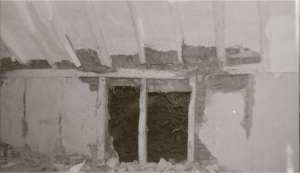
20
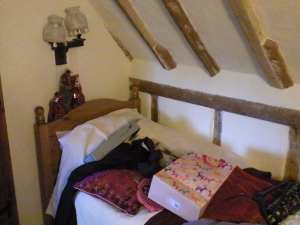
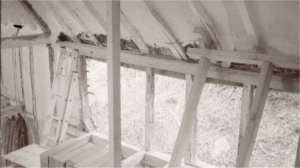
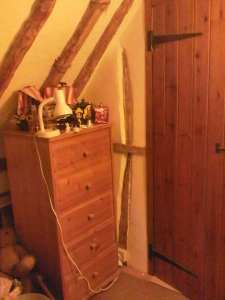
Upstairs (Tom's room) there was a hole in the wattle and daub of the rear wall. Some of the timbers were rotten.
21
So I had to insert a new wall plate (the horizontal timber).
22
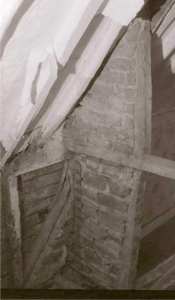
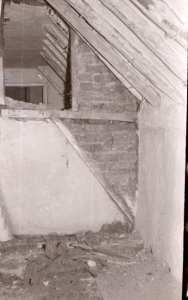
These bricks are made of (unfired) mud.
23
The other side of the mud wall.